
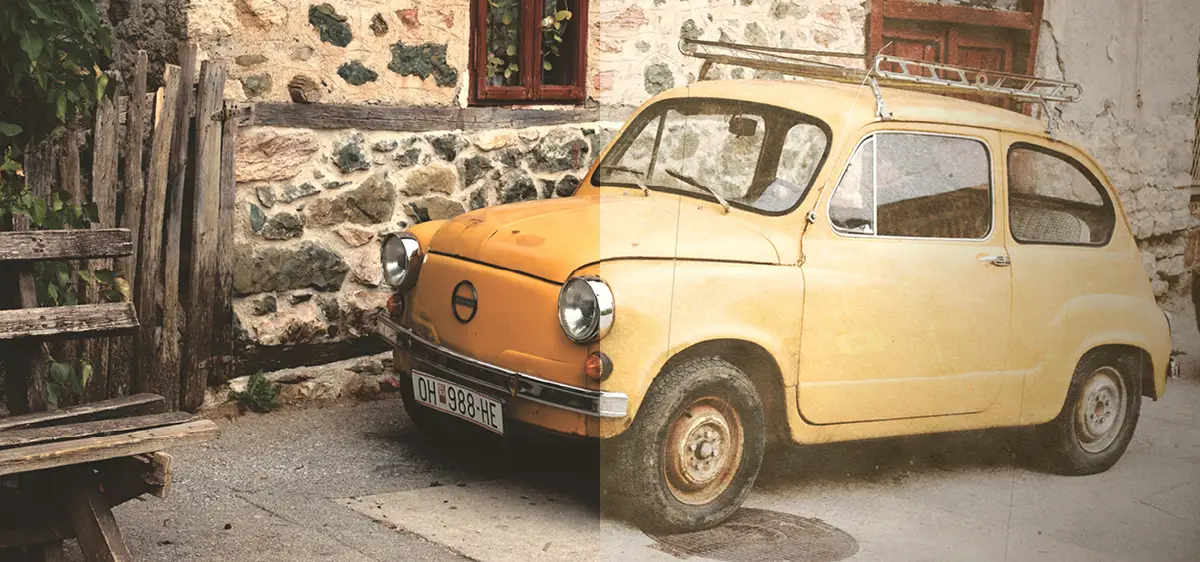
How to make a photo look vintage
Photographs do not just fade with age. They pick up grain from the film they were shot on, and the print itself collects scratches, stains and dust. Those three things together are what make a photo look genuinely old.
What "vintage" actually means
Take a real old photograph out of a box and look at it closely. The colours have shifted — warmer, pinker, the deep blacks gone soft grey. There is grain in it, more than any modern camera would produce. And the print itself has clearly been handled: a scratch across a corner, a stain near one edge, dust that got scanned in along with it.
Vintage is not one thing. It is faded colour, film grain and physical wear — three separate layers, arriving for different reasons and over different timescales.
That is worth knowing before you touch a slider, because it tells you which controls actually matter for the look you have in your head. A photo that only needs the first layer wants completely different settings from one that needs all three.
The three things that make a photo look old
1. The colours fade
Colour negative dyes are not stable. They fade at different rates, and the cyan layer usually goes first, which is why old prints drift warm and pink rather than just getting dimmer. At the same time the print loses its deepest tones — shadows that were black end up grey. This layer is pure colour, which makes it the easiest of the three to reproduce and the one people reach for first.
2. The grain gets stronger
Film grain is silver crystals, and faster film has bigger ones. Photos taken in poor light were shot on fast stock or pushed in development, so they carry heavy grain and shadows that block up into solid black. That that texture looks old partly because modern sensors do not produce it: digital noise is uniform, film grain is not, and you can see the difference even at small sizes.
3. The print gets damaged
This is the layer that lives on the object rather than in the image. Paper fibre starts showing through the emulsion. The surface picks up scratches from being handled and shoved in drawers. Something gets spilled. Dust settles in and gets scanned along with everything else. None of that is colour, and no amount of warmth will produce it.
Texture does more work than warmth. Even a little — 15 or 20 on a texture slider — moves a photo further than another 20 points of colour temperature, because it supplies physical evidence that colour on its own cannot.
Which one for which look
| You want | What that really is | Use |
|---|---|---|
| Soft, nostalgic, 1970s | Instant film chemistry | Polaroid |
| Found in an attic | Physical damage on faded tone | Vintage |
| Shot on a film camera | Light leaks and halation | Retro Analog Film |
| Gritty, bleak, documentary | Bleach bypass | Old Bleach |
| Poster or record sleeve | Push-processed grain | Grainy Film Poster |
| A printed page | Newsprint halftone | Old Newspaper |
Doing it in a browser
None of this needs Photoshop. Each effect above runs in the browser, does one kind of ageing properly, and gives you the controls that actually matter for it instead of one vague "vintage" slider.
- Pick the kind of old you want from the table above. This decision matters more than every slider that comes after it.
- Lift the blacks before you touch contrast. Old prints lose their deepest shadows first, and this one change does more for believability than warmth ever will.
- Add warmth second, and less than you think you need. Real faded prints are subtler than filters would have you believe.
- Add texture last. Grain, paper, dust, scratches — whatever that effect offers. This is the step people skip and the one that decides whether the whole thing works.
Two things to avoid
Do not stack effects. Running a photo through three ageing filters will not make it three times older. Each one already bundles several changes together, and layering them squeezes the tonal range twice over. The usual result is muddy, not old.
Go carefully on faces. High-contrast treatments like Old Bleach and Grainy Film Poster exaggerate skin texture badly. For portraits that should look aged but still flattering, instant-film tonality is the safer route — it is a low-contrast medium by nature.
Frequently asked questions
How do I make a photo look vintage without Photoshop?
Use a single-purpose browser tool rather than a big editor. Warm the colour, lift the black point so the shadows go grey, then add texture — grain, paper or scratches. That last step is the one most people skip, and it is the one that decides whether the photo looks old or merely warm.
Why do my vintage photos still look digital?
Almost certainly because you have only changed the colour. Grading copies how film dyes faded, but not what happened to the physical print — paper fibre, scratches, stains, dust. Adding even a small amount of texture does more than pushing the warmth any further.
What is the difference between vintage and retro photo effects?
In everyday use, none — they mean the same thing. The more useful question is what you are copying: an old object with real damage, old film with its particular colour and grain, or an old printed page. Those need different treatments, and the comparison of all seven sorts them exactly that way.
Which vintage effect is best for portraits?
Instant-film tonality, because it is naturally low contrast and does not drag skin texture up with it. Keep high-contrast treatments like bleach bypass or heavy pushed grain off faces — they make pores, lines and blemishes far more obvious than the original photo ever did.
Can I combine two vintage effects?
You can, by downloading from one and loading the result into the next, but it rarely helps. Each effect already does several things at once, so stacking squeezes the tonal range twice, and what you get looks heavily edited rather than genuinely old.
How do I add grain to a photo?
Most of these effects have a grain control. How much depends on what you are copying: around 15 for 35mm colour negative, up to 70 for pushed film shot in bad light. Grain size matters as much as amount — keep it small for screen, larger for anything being printed big.
Try it on your own photo
The old and vintage photo effects page puts all seven side by side, so you can pick the one that matches the kind of old you are after. Every one runs in your browser, free, no account, nothing uploaded.