
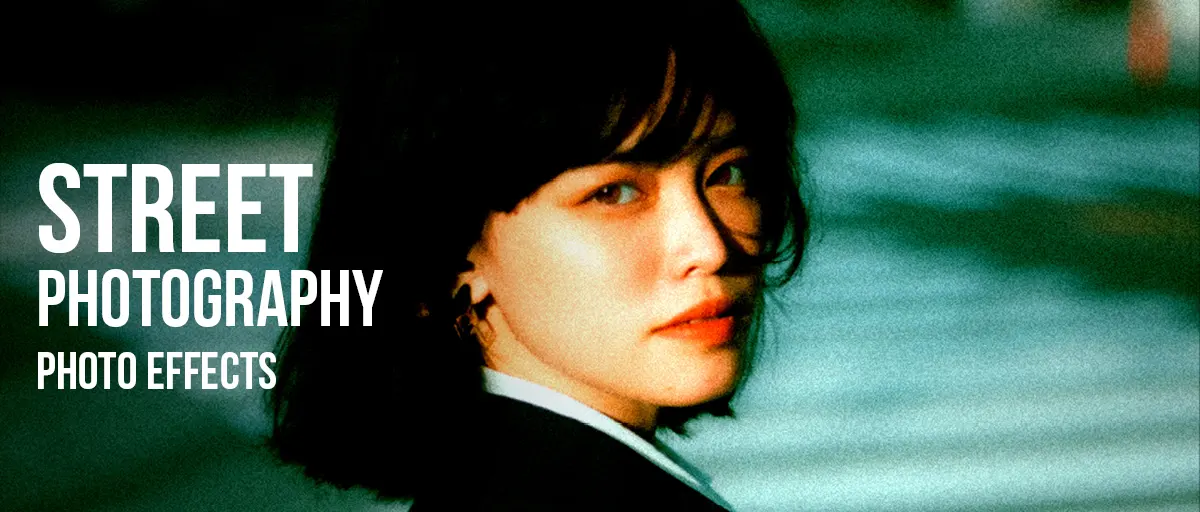
Street Photography Effects
Street photography usually means punchy, bold and a bit in your face. Not soft, pretty and warm. These five effects add contrast, strip colour and add grain — the things that make a frame look like it was grabbed in a hurry rather than carefully arranged.
Last updated 23 August 2026
None of this started out as a style. It started as a list of problems, and the look is what those problems left behind.
A street photographer works fast, in whatever light is there, on a subject who is moving and has not agreed to anything. In practice that meant loading fast film, or pushing slower film in development to buy stops that were not there. Both come out grainier, with shadows that block up into solid black and highlights that let go. Nobody chose that. They chose the frame, and the grain came with it.
Colour was the next thing to go, and for two reasons. Fast film was black and white for most of the twentieth century, so the tradition simply formed that way. But it stuck because colour competes: a red coat in the corner will beat a good gesture in the middle every time, and colour is the one variable a photographer working in ten seconds on a public street has no control over at all.
Contrast went up because it had to. Metering a moving subject against a bright sky is a compromise, and the negative that comes back is flat. Printing it hard was a correction before it was ever an aesthetic.
What all of that adds up to is evidence of speed. Grain, crushed shadows, a bit of blur — they tell you the photograph was taken rather than made, that someone had one chance and took it. That is the quality every effect below is reaching for, and it is worth knowing which of these pieces you actually want before you start moving sliders.
Which one should you use?
The table gives you the one-line version of each; the cards below it show every filter working on a real photograph, before and after.
| Effect | Best for | What it does |
|---|---|---|
| Dramatic Black & White | The default street edit | Channel-mixed monochrome with clarity and contrast control |
| Grainy Film Poster | Low light, night, urgency | Heavy push-processed grain, blocked blacks, blown highlights |
| Old Bleach | Bleak, harsh, reportage | Colour stripped but not removed, over very high contrast |
| Motion Blur | Movement, crowds, transit | Directional streak with an optional protected subject |
| Retro Analog Film | Colour street work | Warm 35mm rendering with light leaks and lifted blacks |
Every effect in this group
-
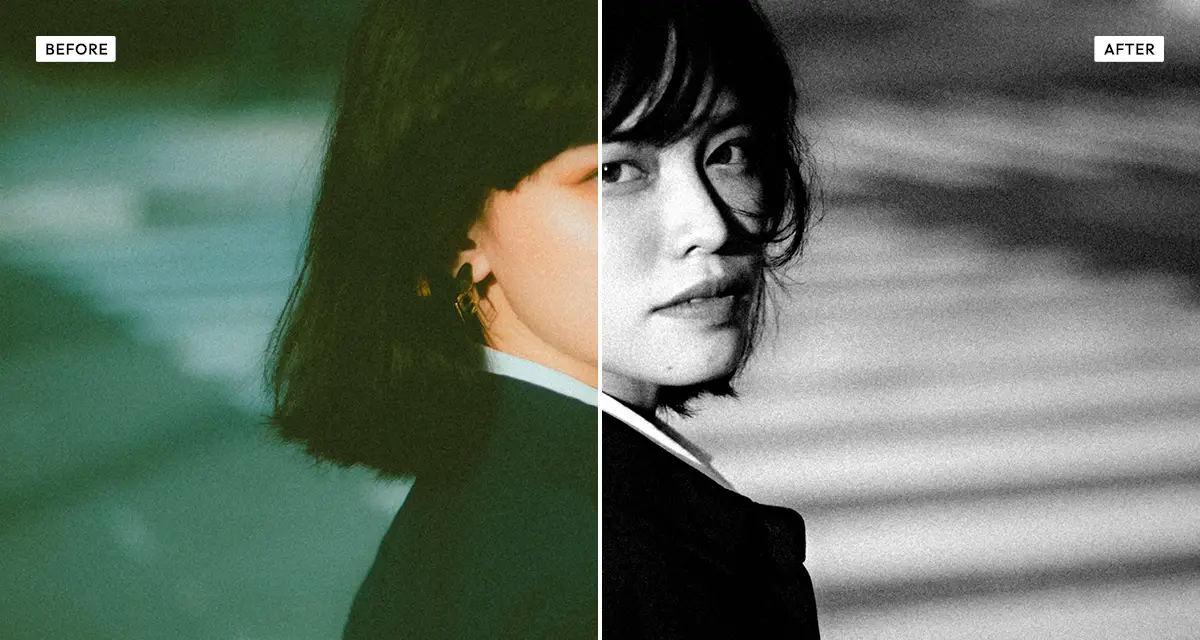 Dramatic Black & White
The standard street edit, with a channel mixer so you decide how each colour turns into grey. Push red to keep skin looking right and darken a blue sky in the same move.
Try the effect
Dramatic Black & White
The standard street edit, with a channel mixer so you decide how each colour turns into grey. Push red to keep skin looking right and darken a blue sky in the same move.
Try the effect
-
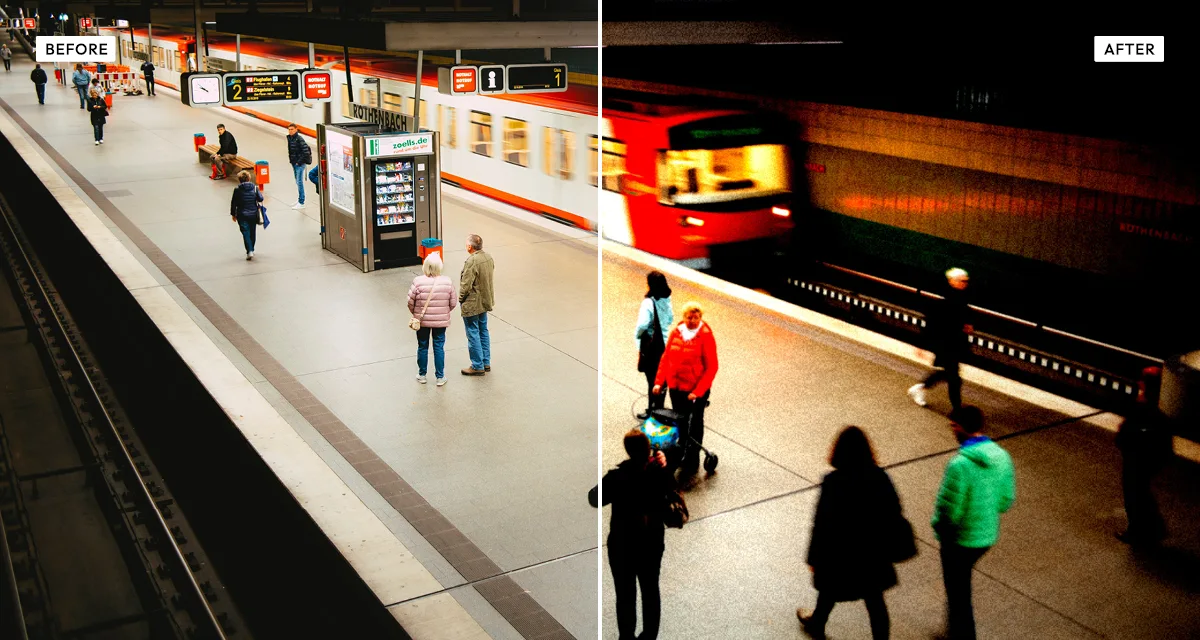 Grainy Film Poster
Copies push processing, which is what street photographers actually did to shoot after dark. Heavy grain, shadows crushed to black, highlights gone. Urgency you can see.
Try the effect
Grainy Film Poster
Copies push processing, which is what street photographers actually did to shoot after dark. Heavy grain, shadows crushed to black, highlights gone. Urgency you can see.
Try the effect
-
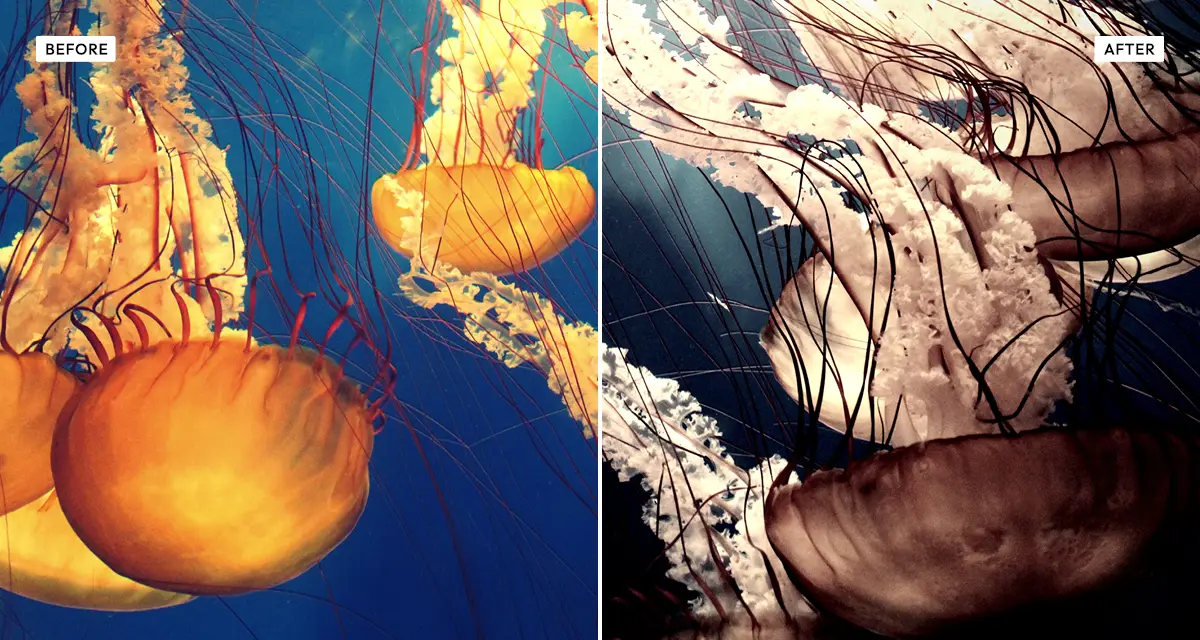 Old Bleach
Bleach bypass — washed out and brutally contrasty at once. Made for bleak reportage and rainy cities. Hard on faces, which is occasionally exactly what you want.
Try the effect
Old Bleach
Bleach bypass — washed out and brutally contrasty at once. Made for bleak reportage and rainy cities. Hard on faces, which is occasionally exactly what you want.
Try the effect
-
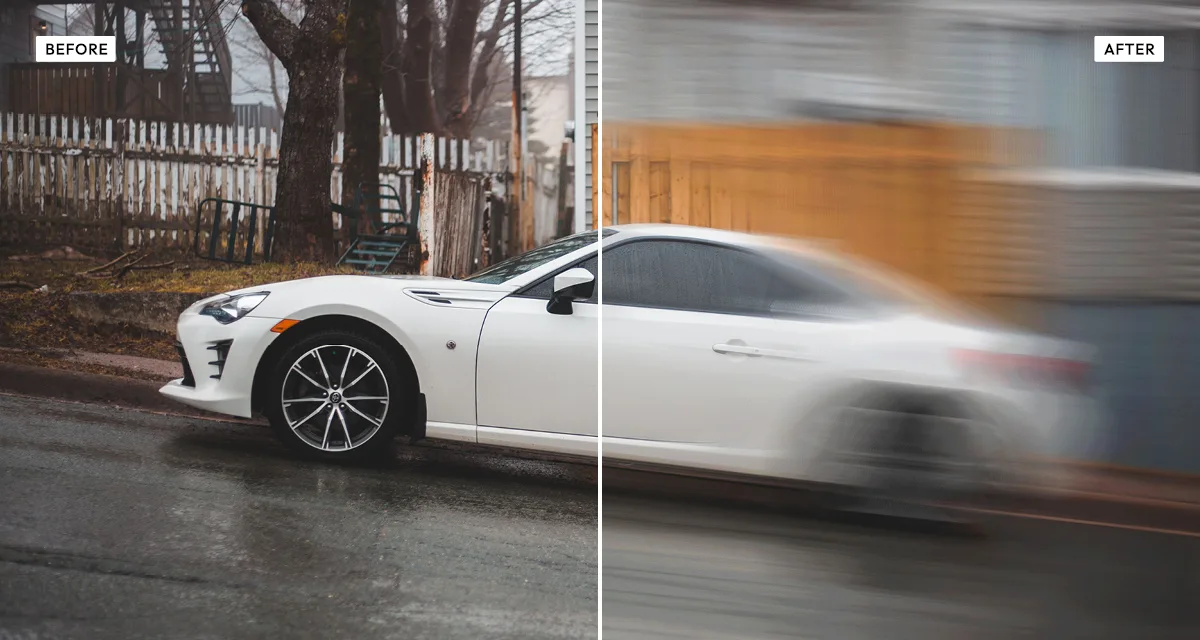 Motion Blur
Adds a directional streak, with the option to keep the centre sharp so your subject holds still while the crowd smears past. That gap between still and moving is what makes it feel fast.
Try the effect
Motion Blur
Adds a directional streak, with the option to keep the centre sharp so your subject holds still while the crowd smears past. That gap between still and moving is what makes it feel fast.
Try the effect
-
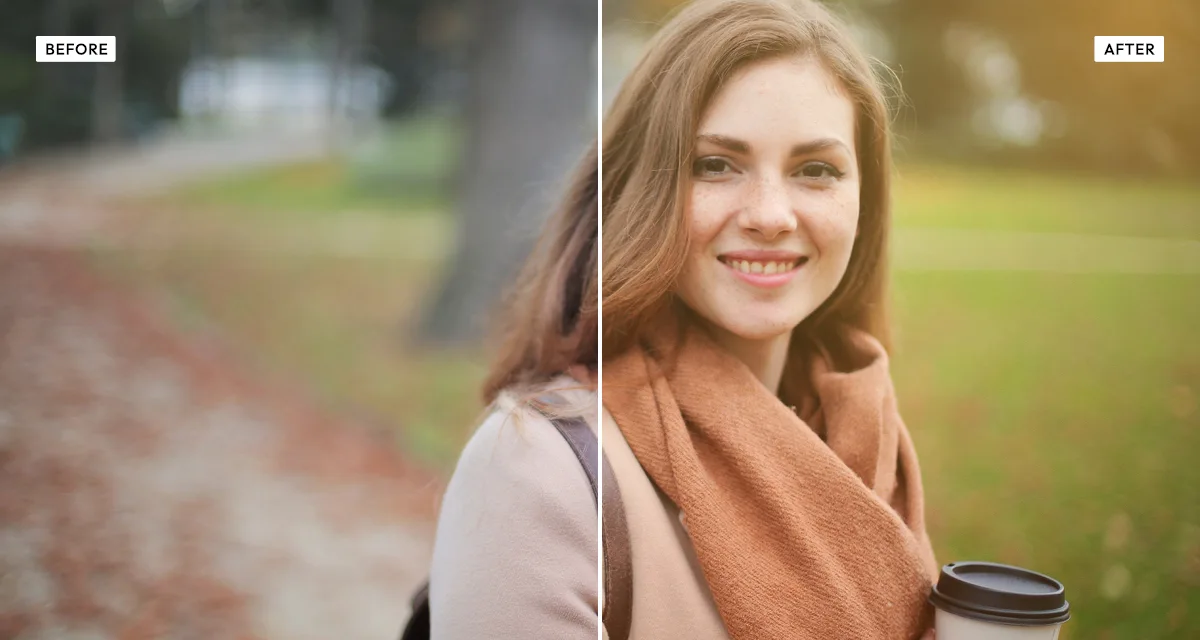 Retro Analog Film
For street work that should stay in colour. Warm 35mm rendering, grey blacks, a light leak across one edge — a roll shot on the move rather than a graded digital file.
Try the effect
Retro Analog Film
For street work that should stay in colour. Warm 35mm rendering, grey blacks, a light leak across one edge — a roll shot on the move rather than a graded digital file.
Try the effect
How to choose, and what to avoid
Pick colour or black and white first, then commit.
If colour is doing real work in the frame — a red coat, a neon sign — keep it and use Retro Analog Film. If it is just noise, get rid of it with Dramatic Black and White. Muted-but-still-there is the worst of both, and it usually just looks like you could not decide.
Use the channel mixer, not a preset.
Street frames are full of skin and sky, and those two want opposite things: lift the blue and the sky looks great while the skin falls apart. Lift the red and it goes the other way. Choosing on purpose is the whole difference between a conversion and an edit.
Grain will not rescue a frame that has nothing in it.
Pushed grain looks urgent because the photograph was urgent. Put it on a calm, carefully composed empty street and it just looks noisy. Save it for frames that have earned it.
Skip the vignette on wide street frames.
It drags the eye into the middle, which fights the thing street photography is usually about — something happening off at the edge that you only spot on the second look.
Frequently asked questions
How do I edit street photography?
Push the contrast, usually drop the colour, and stop fighting the grain. Street frames get shot fast in whatever light happens to be there, so the raw file is almost never balanced. Editing for impact rather than accuracy is what makes a frame look observed instead of arranged.
Why is street photography usually black and white?
Mostly because colour competes with gesture and geometry, and those are what a street photograph is usually about. There is a historical reason too: fast film was black and white, so the whole tradition grew up around it. Dropping colour also removes one more thing the photographer had no control over.
What is the best filter for black and white street photography?
Dramatic Black and White, because you get a channel mixer instead of a fixed recipe. Street scenes put skin and sky in the same frame, and those need opposite treatment — a red-heavy mix keeps skin clean while darkening the sky, and no single preset can pull that off.
How much grain should I add to street photos?
Enough that it looks like film, not so much that it becomes the subject. Somewhere around 15 to 30 suits most frames. Go higher only when the photo really was shot in bad light — heavy grain on a calm, well-lit frame looks like a filter rather than a circumstance.
Do these filters work on photos taken with a phone?
Yes, and often more easily. Phone files are cleaner and flatter than the film these looks come from, which means there is more headroom to push contrast before anything breaks. If the file is very large, resize it first and everything runs faster.
Are these street photography effects free?
Yes, all five, no account, nothing uploaded — your photo is processed in your browser. Credits only come in for a full original-resolution download; previewing and standard-resolution download cost nothing.